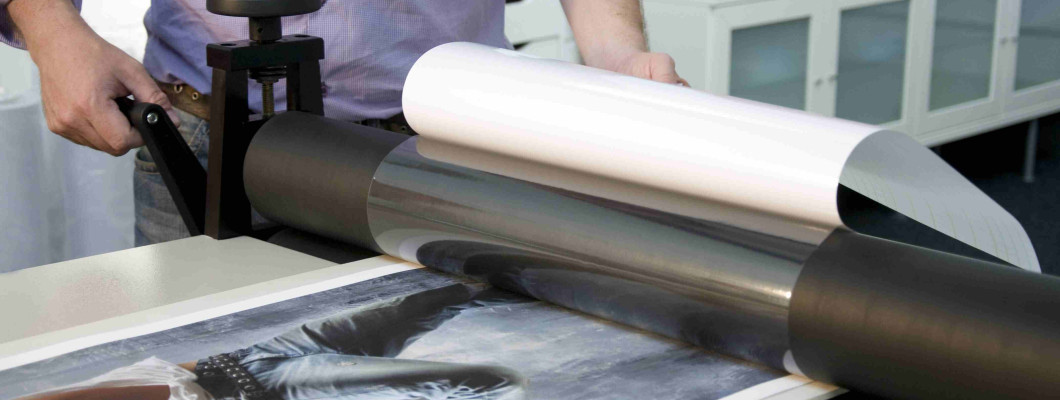
Cold lamination is an essential technique for protecting and enhancing documents, photographs, and creative projects without using heat. Ideal for temperature-sensitive materials, this method delivers professional, long-lasting results. This comprehensive guide explores everything you need to master this technique perfectly.
What is a Cold Laminator Used For?
The cold laminator is a fundamental tool for anyone needing to protect documents or create durable materials. Unlike traditional hot laminators, this version offers numerous advantages:
Cold lamination preserves heat-sensitive materials like photographs, stickers, and inkjet prints, preventing warping or permanent damage while maintaining vibrant colors.
Primary Applications
- Document protection: Certificates, diplomas, important records
- Photo preservation: Albums and personal memories
- Professional materials: Business cards, menus, ID badges
- Creative projects: Stickers, bookmarks, decorations
Key Benefits
The cold process completely eliminates thermal damage risks, maintains original color vibrancy, and allows faster processing without cooling wait times between laminations.
What's the Difference Between Cold and Hot Laminators?
While often used interchangeably, substantial differences exist between these devices:
Technical Definitions
Cold laminators typically use pressure-sensitive adhesive films, while hot laminators employ heat-activated pouches with different thickness capabilities and applications.
Comparison Table
| Feature | Cold Laminator | Hot Laminator |
|---|---|---|
| Technology | Pressure-sensitive adhesive films | Heat-activated pouches |
| Material Compatibility | Ideal for delicate materials | Handles thicker items |
| Versatility | Limited to adhesive films | More material options |
Note: While often called "cold laminators," technically these are pressure-sensitive film applicators.
What Are Laminators Used For?
Laminators serve as indispensable tools across professional and domestic settings with diverse applications:
Main Uses
- Office: Protecting important documents
- Education: Creating durable teaching materials
- Home: Preserving photos and memorabilia
- Business: Producing menus and signage
Lamination Process
The laminator applies transparent protective layers to both document sides, completely sealing against moisture, dust, and daily wear. The result is a professional, resilient finished product.
Proper lamination can extend a document's lifespan up to 10 times while maintaining perfect readability and appearance.
TUTORIAL VIDEO
Step-by-Step Cold Lamination Guide
Required Materials
Optimal results require proper equipment:
Complete Checklist
- Cold laminator (manual or automatic)
- Cold laminating films (75-250 micron)
- Precision scissors or rotary trimmer
- Squeegee for bubble removal
- Clean, flat work surface
Detailed Procedure
Follow these steps for perfect lamination:
1. Preparation
Thoroughly clean documents of dust and fingerprints. Cut film with 5-10mm margins larger than your sheet.
2. Application
Remove backing paper and perfectly align document. Gradually apply film from one edge using squeegee to eliminate air bubbles.
3. Finishing
Trim excess with sharp tools for clean edges. Verify no remaining bubbles exist.
Maintenance and Storage
Machine Care
Ensure long equipment lifespan:
- Weekly roller cleaning with microfiber
- Prevent adhesive residue buildup
- Lubricate mechanical parts as instructed
Film Storage
Store films in cool, dry environments, preferably vertically away from heat sources.
Important: Always check film expiration dates as adhesive effectiveness diminishes over time.
Conclusion
Cold lamination offers a practical, effective solution for protecting and enhancing your most important documents. With proper equipment and correct techniques, anyone can achieve professional results. Whether you're a beginner or professional, this guide provides all necessary knowledge to maximize this technology's potential.

Leave a Comment